
img


Are you tired of calling an electrician and spending money on repairing a cut extension cord? And now you have decided to fix it yourself and looking for a way to repair it.
It’s the right decision you’ve taken, as getting the cut extension cord repaired by another person, such as an electrician, can impact you in many ways.
First, it costs you spending unnecessary money. Second, you need to continuously hassle to get it repaired. Third, you must manage a particular time from your busy schedule. Managing all this becomes challenging, and you end up frustrated.
On the flip side, if you choose to repair cut extension cord yourself, it can reap many benefits. You need not spend a lot of money, don't require much time, and it can be done in the comfort of your home.
But how to repair a cut extension cord? Is this the question striking your mind?
Don't worry. We will help you repairing extension cord with our step-by-step guide mentioned below.

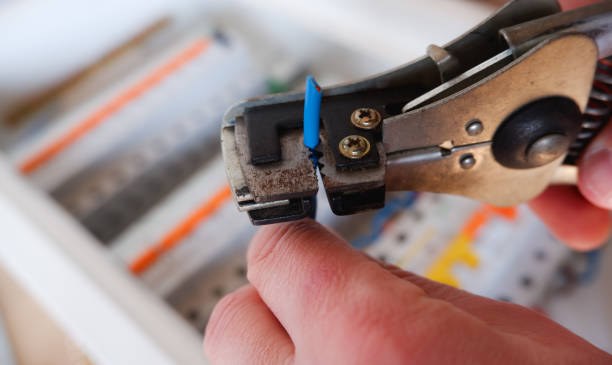
If you want to repair the cut extension cord, the first thing you must do is collect all the required tools. It is so because without them, you can't even think of repairing the cut extension cord.
So, now you might be wondering what tools to collect. Here is the list;
Once you gather all the tools, head to the next step.

Before starting to repair electrical cord, you must ensure it is not connected to any electrical outlet. It is vital because you can get an electric shock if the extension cord remains connected to the outlet.
Hence, disconnect it from any electric outlet or switch to keep yourself safe.

Once you disconnect the wire from the switch, locate the damaged part of the extension cord and cut it with the wire cutter. It is necessary to cut the damaged section as it is of no use now.
After cutting the wire, the next step is to remove the insulation shield of the wire of about 1.5 to 2 inches in length.
To do so, pick up a utility knife and carefully score the outer insulating layer of the wire from one end. But make sure you do not damage the inner part of the wire. Then pull off the insulation layer to expose the inner part of the wire.
Repeat the same procedure on the other end of the extension cord.

Moving further, you now need to strip the final wire insulation layer. You do this using a wire stripper. Strip about a quarter to half an inch of the insulation layer. This will expose the copper strands.
Do all this carefully to avoid damaging the copper strands.

In the next step, cut the appropriate size heat shrink tubes and slide them on all the wires to be repaired. Make sure you do the same for the big-size outermost layer.

Now, it's time to solder all the wires together.
First, pick wires of similar colors and twist them around each other. Then pick hot soldering iron, touch its tip to the strangled wire, and wait as it heats up. As soon as the wire reaches the melting temperature, the lead solder smokes and melts.
This will help join the wire together firmly.

After soldering the wire, it's time to wrap the repaired part of the extension cord with electric tape. This will protect the wire from further damage and avoid getting an electric shock on touching the wire.
So, ensure you use quality tape from a reputed brand.
Repairing a cut extension cord yourself can save you money and avoid a lot of hassle. But ensure you use the best way to repair a cut extension cord to prevent further damage or accident like an electric shock.
You do so by following the above-mentioned step-by-step guide.
{"one"=>"Select 2 or 3 items to compare", "other"=>"{{ count }} of 3 items selected"}